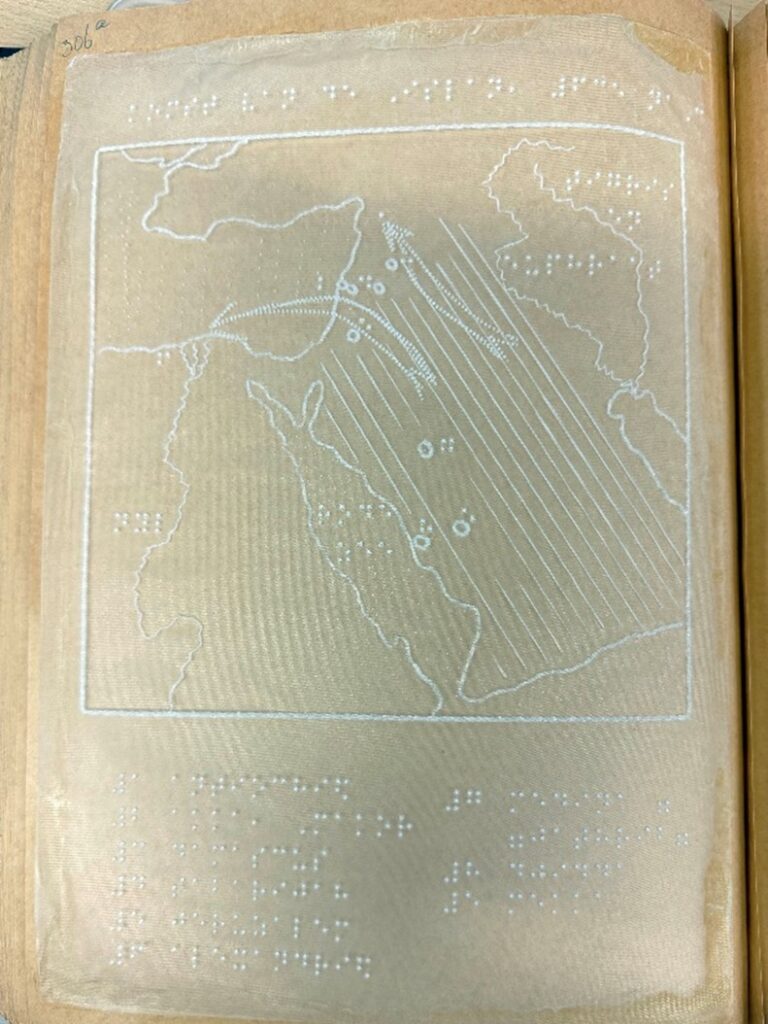
Production techniques and materials
How can you make a story accessible to a young child with limited or no vision?
One effective way is by creating a tactile book featuring braille, tactile images, and possibly 3D objects and audio elements.
This chapter explores established techniques and materials used by printing houses and schools, along with lesser-known methods by artists and designers, as well as simple approaches suitable for home use.
The unique properties of materials and techniques play a crucial role in how well a story or information is conveyed. What feels clear in one material may not be as tangible in another. The design process involves carefully selecting what best suits various types of tactile books and graphics.
Working with experts in tactile design and people with visual impairments helps ensure the designs meet users’ needs. Before developing new tactile books or graphics, it’s important to define a thorough briefing that includes:
- The purpose
- Age group and cognitive abilities
- Context of use
- Whether it’s standalone or part of a series
- Budget and available production resources
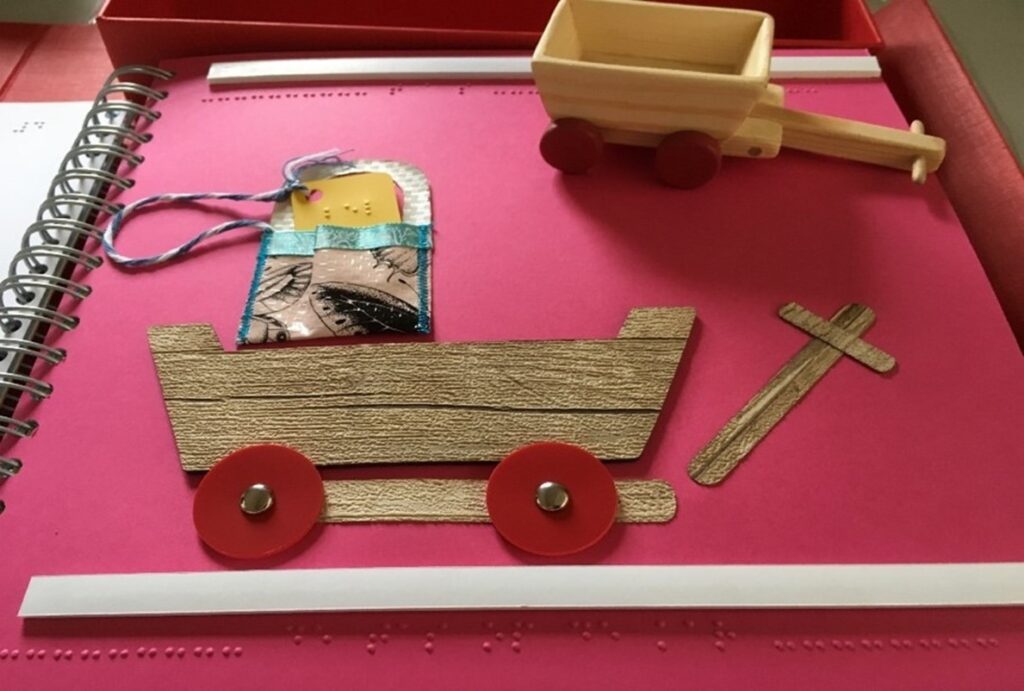
Collage
For these guidelines, ‘collage’ refers to tactile illustrations made with various materials rather than printed. There is an incredible wealth of natural and synthetic materials which can be used to make a tactile collage book / illustration. One of the most important aspects is child safety and durability. While these kinds of books are complex and labour-intensive to produce, they provide an unmistakable and rich tactile reading experience for very young children.
Choosing materials for their tactile and sensory properties can take time. Think tactile. Close your eyes while testing and always involve children in trials. Some materials might look different but not feel different. Select those with clear textures and other sensory triggers such as smell, sound, or another form of haptic feedback. ‘Real’ materials provide direct tactile cues, drawing on a child’s experiences, memories, or associations. Texture, size, weight, and interactivity help spark imagination and support mental imagery. Use contrasting materials and defined spaces instead of lines, and keep repeated characters consistent in material, size, and shape to build tactile memory. Be mindful of stereotypes when depicting people. Always consider thickness, weight, and ease of handling. Familiar, textured real objects work well in illustrations and detachable items can encourage interaction.
Suggestions for materials, techniques and tips for handling can be found in the full guidelines.
Tactile collage books and illustrations provide an unmistakable and rich tactile reading experience. However, they are relatively complex, time consuming and expensive to produce due to the variety of materials and techniques used, including handwork. It can also be challenging to repair damaged books or produce later re-editions using the same materials.
Binding
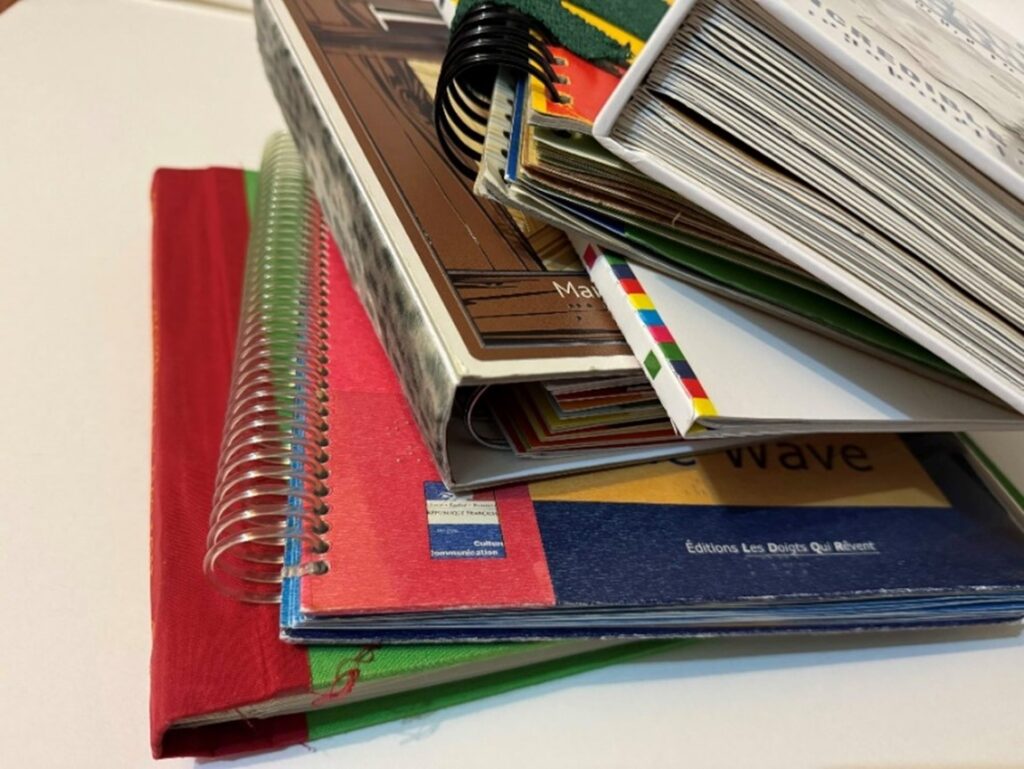
The way a tactile book can be bound depends on several factors such as its size, thickness, materials used, how it will be used, whether it includes 3D objects or other additions, any incorporated electronics, whether it’s a collage or printed book (2D, 2.5D, or 3D), and, last but not least, the available budget.
Book binding methods:
- Spiral and comb binding: safe, cheap, and easy method using a wire loop or metal comb threaded through holes in the book’s edge. Wire-o comes in various sizes and colours. Pages lie flat which is ideal for braille and tactile images but the spine spiral can disrupt double-page spreads and continuity. Best for one-offs or short runs. Can be perceived as ‘cheap,’ so rarely used in commercial productions.
- Saddle stitch binding (staple bound): simple, low-cost method for a small number of folded pages. Too many pages result in poor lay-flat quality.
- Singer sewn binding: traditional technique stitching folded pages along the spine. No adhesives or staples needed. Elegant and strong for thin booklets. Opens flat and preserves braille dots. The downside: it’s relatively expensive.
- Hardcover or case binding: durable, high-quality method for single sheets or sewn sections, allowing flat page openings for tactile exploration. Excellent for double-page spreads. Machine binding can be problematic due to pressure, glue, or heat. Hand-binding is a good alternative for small quantities. A skilled bookbinder can adapt methods based on budget, though cost may be a drawback.
Swell paper
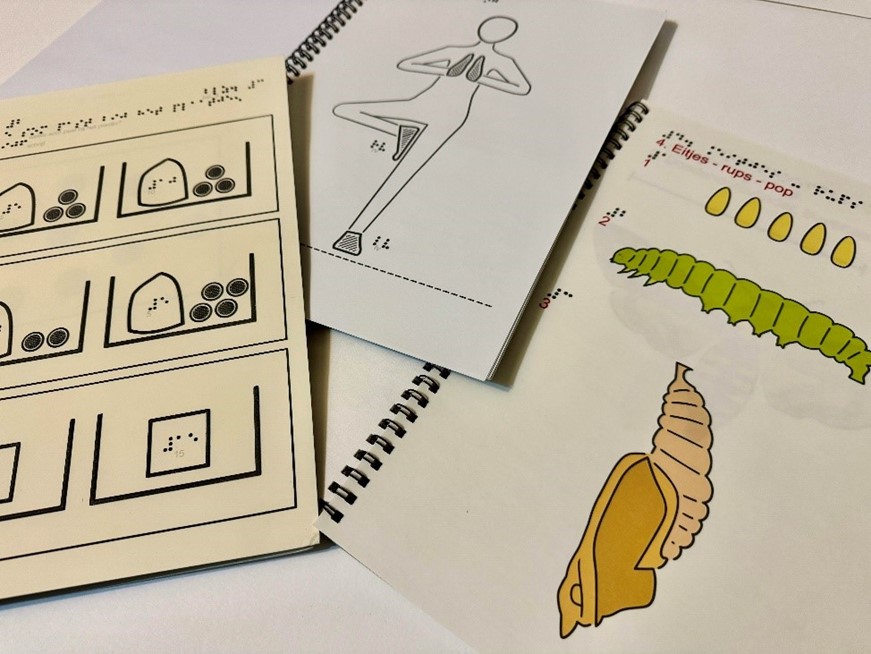
Using swell for tactile graphics is a simple, fast, and low-cost method for reproducing tactile graphics such as drawings, maps, diagrams, and braille, making it particularly suitable for single use, small series, and prototyping.
This method works with a swell form machine (heat fuser) and swell touch paper which reacts to black ink or toner containing carbon, and heat. When a drawing on this coated paper is exposed to heat through the machine, the black areas swell (puff), resulting in raised lines, textures and patterns in slightly varying heights. It’s a one-level relief technique. Swell is effective for line drawings and clear textures, with colour enhancements possible, while accompanying tekst can be printed in a way that remains visible without swelling. The compact, classroom-safe machine features a fan to keep it cool, allowing instant use of the tactile graphics.
Swell touch paper, also known as microcapsule paper, puff paper or fuser paper is available in various sizes and brands (ZyTex, Tangible Magic Paper, Minolta Paper, Matsumoto and Flexi-Paper), and should be stored away from direct light and heat to prevent drying out.
Screen printing
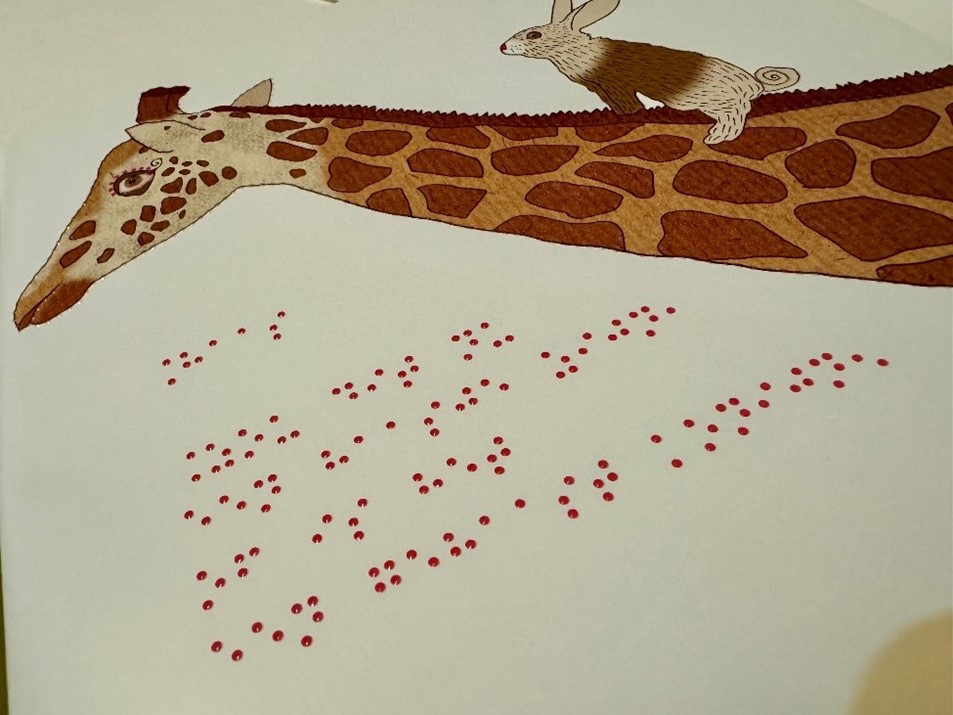
Screen printing (also known as silkscreen or serigraphy) is a popular and versatile technique for transferring designs onto various surfaces like paper, fabrics, and metal. The process works by blocking ink through a fine mesh screen, allowing for durable and vibrant prints, including braille and line drawings. There are a variety of inks featuring special tactile effects such as glitter or suede and scent. So-called braille ink is a transparent varnish which can be used to superimpose on an area already printed with colour. Complex designs may be created by layering inks and effects.
Screen printing is a durable and versatile technique with specialized inks for enhanced tactile experiences and cost-effectiveness in larger quantities.
Thermoforming
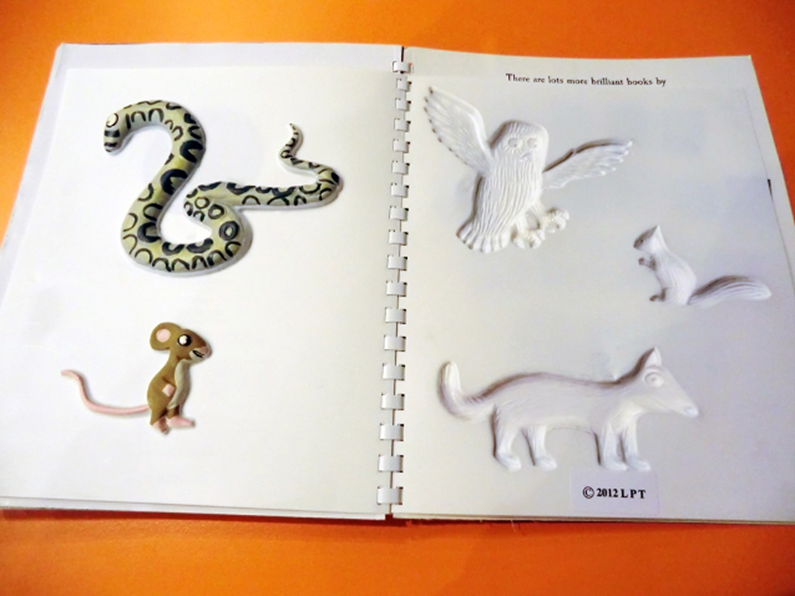
Thermoforming is an effective method for creating tactile graphics with braille, ideal for larger quantities ta ls its semi-automated process. This involves heating a plastic sheet to form 3D shapes with raised surfaces that can be felt. It is widely used for tactile diagrams, maps, signage, and books, thermoforming sheets are typically made from polystyrene or PETG and vary in thickness. Thermoformed tactile graphics are durable and can be quickly updated.
Moulds, created from materials like wood or aluminium, can be made using techniques such as 3D printing or laser cutting. In the thermoforming machine, the heated plastic is pulled onto the mould by a vacuum, forming the graphics. After cooling, the sheet is removed. These sheets should be kept away from heat to prevent damage. The sheets can become brittle so it’s wise to keep the original mould and a master copy for reference.
Thermography
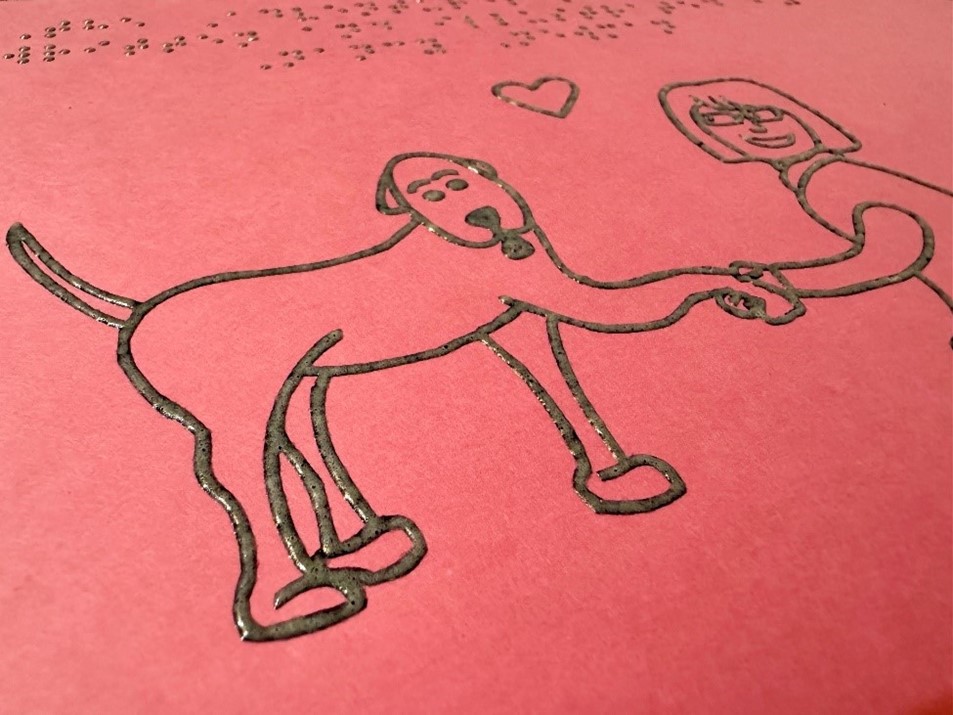
Thermographic printing is a technique that can be used for braille and textured images on various materials using heat-sensitive inks that bond and expand with heat. Traditionally known for adding a luxurious touch to items like business cards and invitations, ta lso effectively produces raised line drawings.
The ink, a blend of pigments and resins, is applied to selected areas and covered with thermographic powder. Excess powder is removed via a vacuum before heating, melting the resin, which swells to create a raised effect. Once cooled, the resin solidifies, ensuring durability and preventing smudging or fading of colour.
In the 1980s, Canada’s Tactile Vision Printing Technology developed and patented their own thermographic powder, achieving greater height for better legibility.
Elevated printing (2.5D Textural printing)
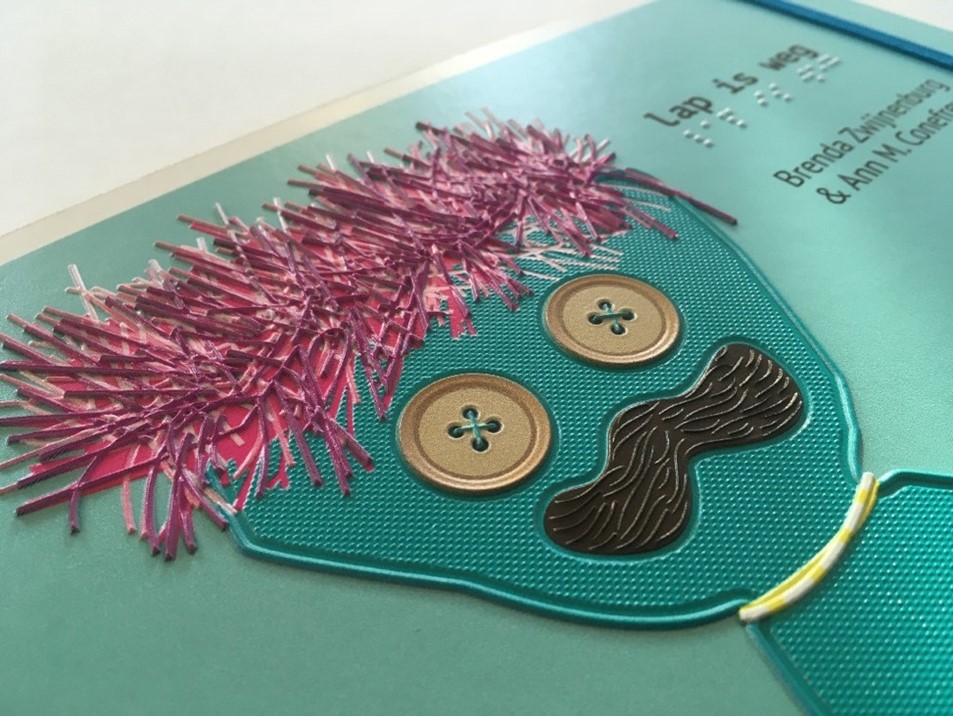
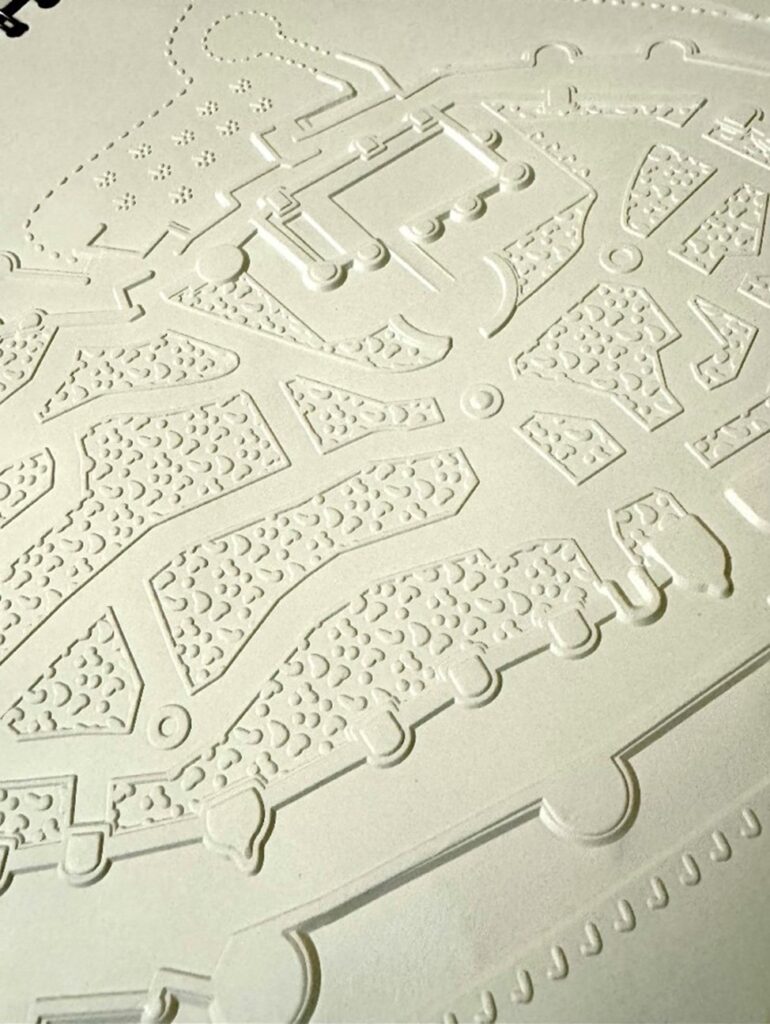
State of the art flatbed printers can now create high quality full colour elevated prints on a wide range of non-porous or coated materials. It is an exceptionally adaptable technique capable of printing braille and textures. For tactile illustrations and braille, printers with a height range of 0–1 mm or 0–2 mm are sufficient (braille is generally set at 0.6 mm). There are flatbeds which can print up to 5 mm; these can be used for signage, maps or artistic applications. Layers of white ink are applied to build up the textured height, followed by the top coloured layer and if required a final UV coating for extra protection. Additionally, elevated priniting can be used for the creation of embossing dies and molds
Embossing
Embossing boasts a rich history for the purpose of creating raised or three-dimensional patterns and designs for both aesthetic and practical applications such as embossed braille on medicine packaging. The embossing process involves exerting pressure on a material (sometimes in conjunction with moisture and heat) using a set of dies to generate a raised image or texture on the material’s surface.
Many printing houses maintain a dedicated braille printing section, where they print braille and images on small printing presses using their own custom dies or plates. Sets of dies for printing braille can simply be made from heavy duty acrylic sheets using a Marburg embosser. Dies for embossing braille and tactile images can also be printed using 2.5D technology. Commercial printers can create high-quality embossings using sophisticated multi-layered dies in combination with offset printing or colour foils.
UV and LED-UV Digital printing
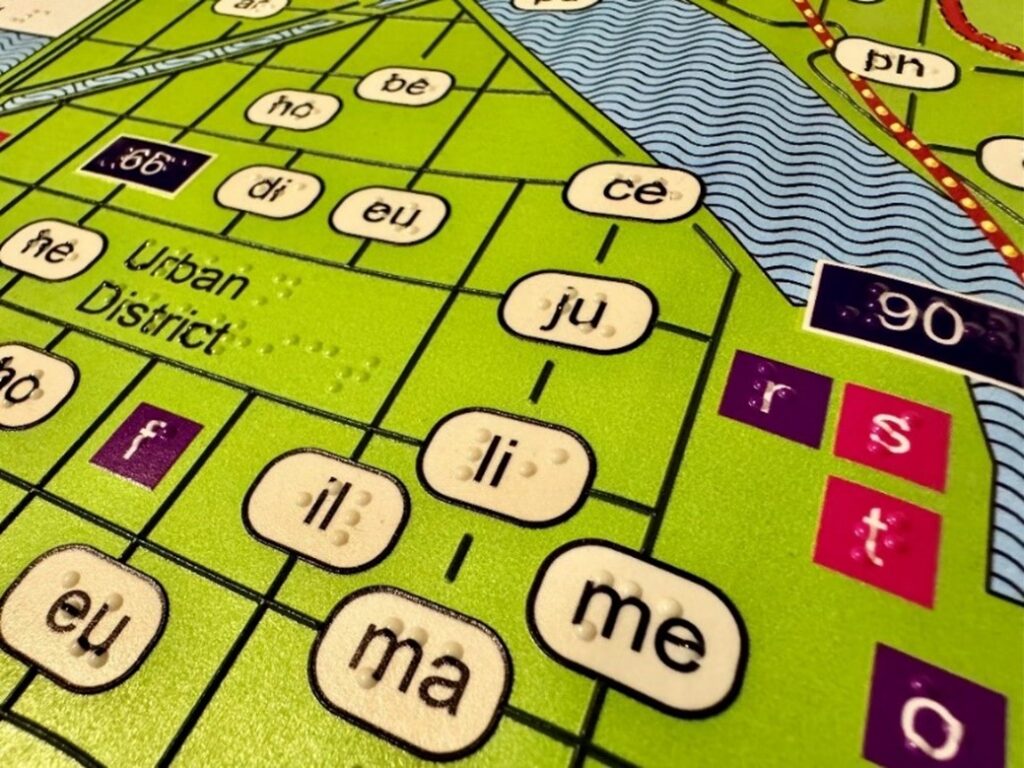
A wide range of UV and LED-UV digital printers use ultraviolet light to cure inks for fast, versatile printing, including specialty inks, varnishes, and lacquers for special effects on packaging and in some cases for producing tactile graphics and braille. Matt, semi-matt, or gloss varnishes can be applied for a relief effect that can be felt if the contrast is sufficient. Other varnishes and 3D lacquers offer tactile qualities, such as soft touch for a velvety feel, grip varnishes for a rubbery texture, and gravel lacquer for a sandy feel. Scented varnishes contain micro-fragrance capsules that release fragrance when scratched (Scratch ‘n sniff). These techniques can be applied to various materials, including paper, plastics, and metals.
This example, printed on a Mutoh, shows the use of flexible inks for printing tactile maps on lightweight coated paper which can then be rolled up for traveling. The embossed effect for braille, lines and textures has been built up in layers.
Braille images
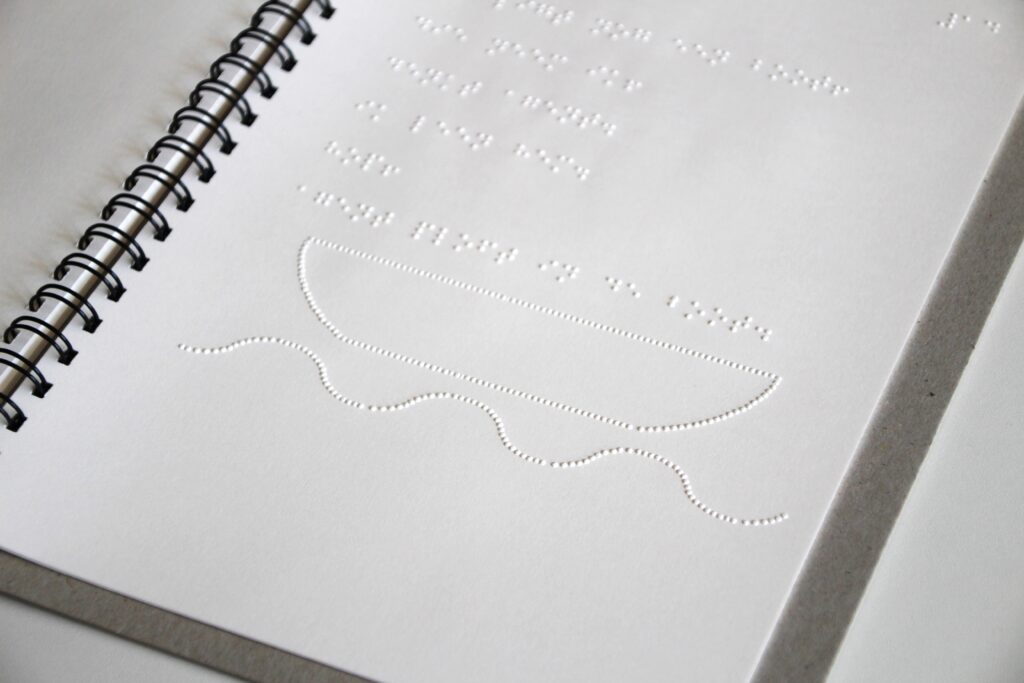
Creating tactile images using braille dots, sometimes in combination with written information in braille has a long history and can be found in books and standalone pieces. Braille designs can either be created by hand or printed digitally.
Using a pattern and a braille writer or a slate and stylus, teachers, parents and children can create their own tactile images. An extensive library of existing patterns and instructions can be found online.
There is a growing range of braille embossers (printers) available on the market. For production purposes there are heavy-duty, multifunctional embossers, while for home use there are small, affordable embossers. Using special software these embossers can print braille and images. Some embossers can print up to 8 levels of braille dots, combine braille with colour print, print music notation and so on. The full version of the guidelines contains links for braille designs as well as information about software and embossers.
Encouraging braille students to create tactile images promotes motivation and literacy while highlighting braille’s versatility.
Tactile books with audio
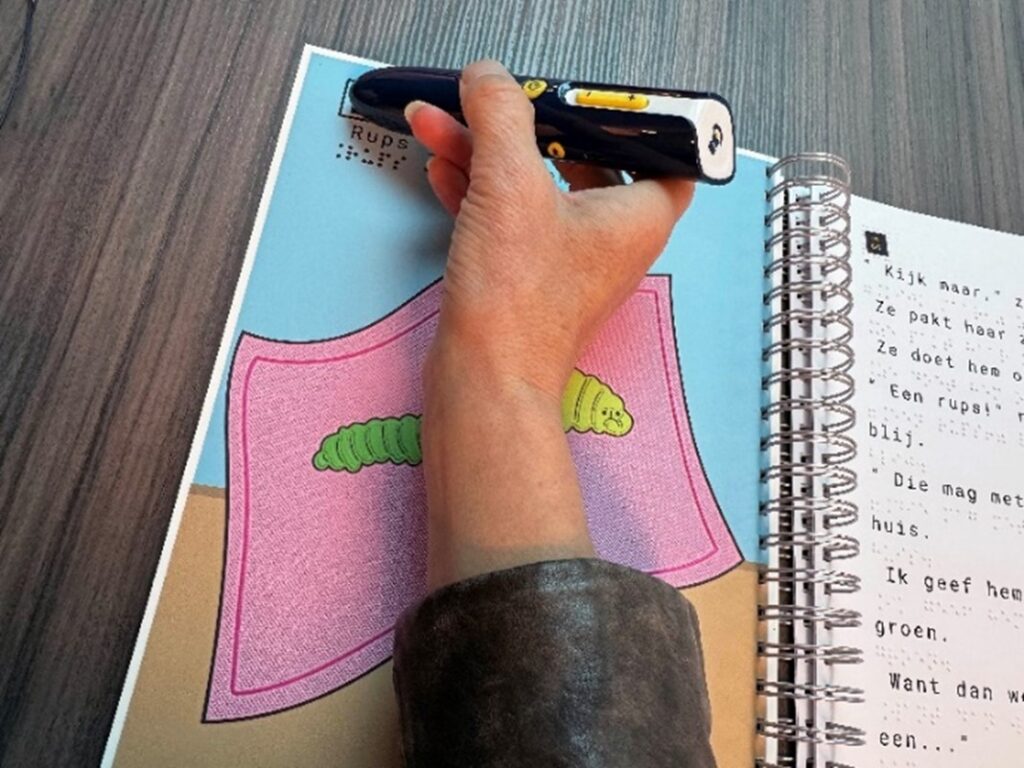
Tactile books can incorporate audio through an audio pen that activates at specific points on the page, providing descriptions and story readings. Alternatively, audio files can be accompanied by QR codes or NFC technology, allowing interaction via mobile devices.
Audio pens are user-friendly but can be costly and require charging. QR codes are affordable and versatile but require a mobile device for scanning and may need additional assistance for use.
Microbeads
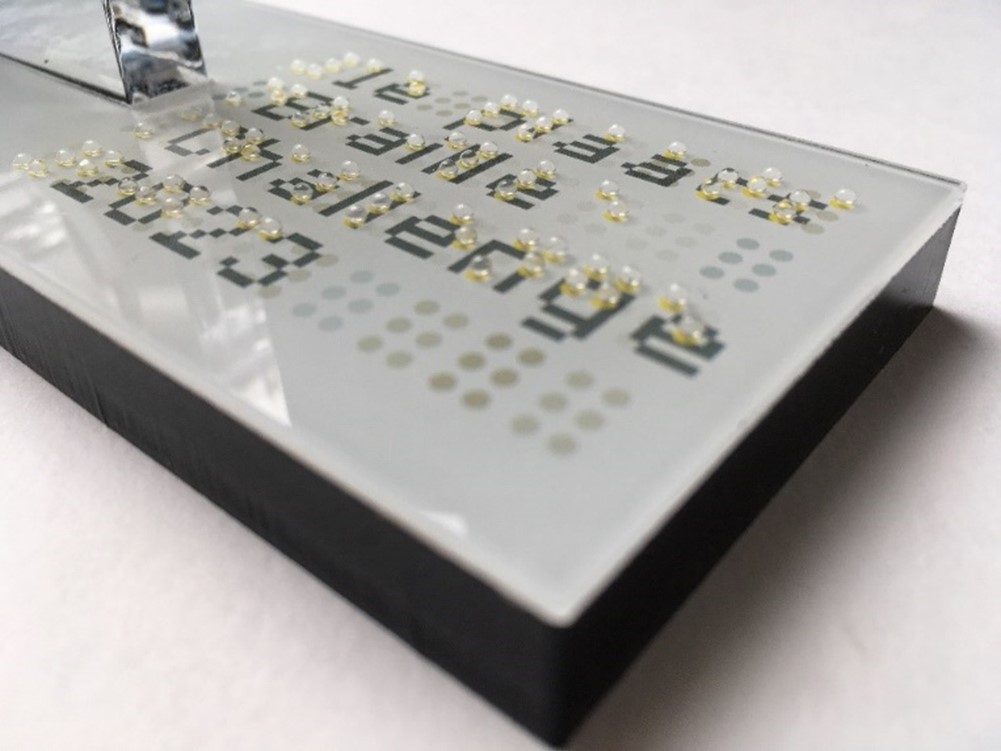
Microbeads, or microspheres are ideal for durable signage across various materials. These small beads, crafted from plastic, glass, or metal, are applied to etched braille characters on materials such as glass, wood, or plastic.
They offer a pleasant tactile experience and high-quality appeal for commercial use.
3D Printing
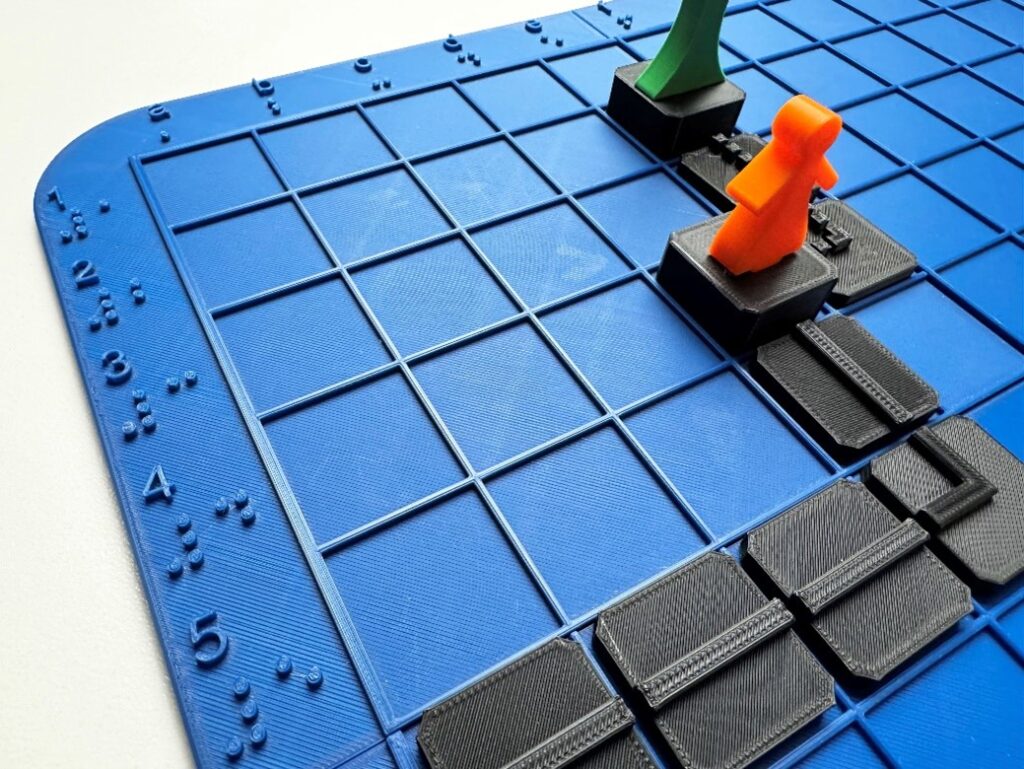
A comprehensive guideline for creating tactile models using 3D printing was published in May 2024 on Printdisability.org
This publication outlines what 3D printing is and its applications for making accessible models, and includes numerous examples as well as practical and technical information alongside useful web links.
At Thingiverse.com you can find a large collection of readily available 3D models. Another extensive database, including guidelines, can be found at Tactiles.eu
Manual braille and raised lines
There are many simple techniques for making raised line drawings and braille by hand.
Braille:
- Braille writer: for typing braille on paper or plastic.
- Slate and stylus: a portable, budget-friendly method for hand-writing braille.
- Braille dymo tape labeler: for creating braille labels.
- Braille embosser: affordable models for printing braille and tactile images.
- Tactile paints: best on smooth surfaces, requiring a steady hand.
- Beads: available in self-adhesive or sewable varieties.
- Thread: for sewing braille with practice.
Raised Line Drawings:
- Tactile drawing board: draw tactile images with a ballpen or stylus on paper or embossing film; DIY versions are possible.
- Tactile paints: such as ‘Blob Paint’ and 3D Liner for texturing.
- Gluing string.
- Pipe cleaners.
- Wikki-Stix.
- Water soluble markers on Quick-draw paper: compressed sponge for drawing.
- Spur wheel: for creating textures and lines.
